
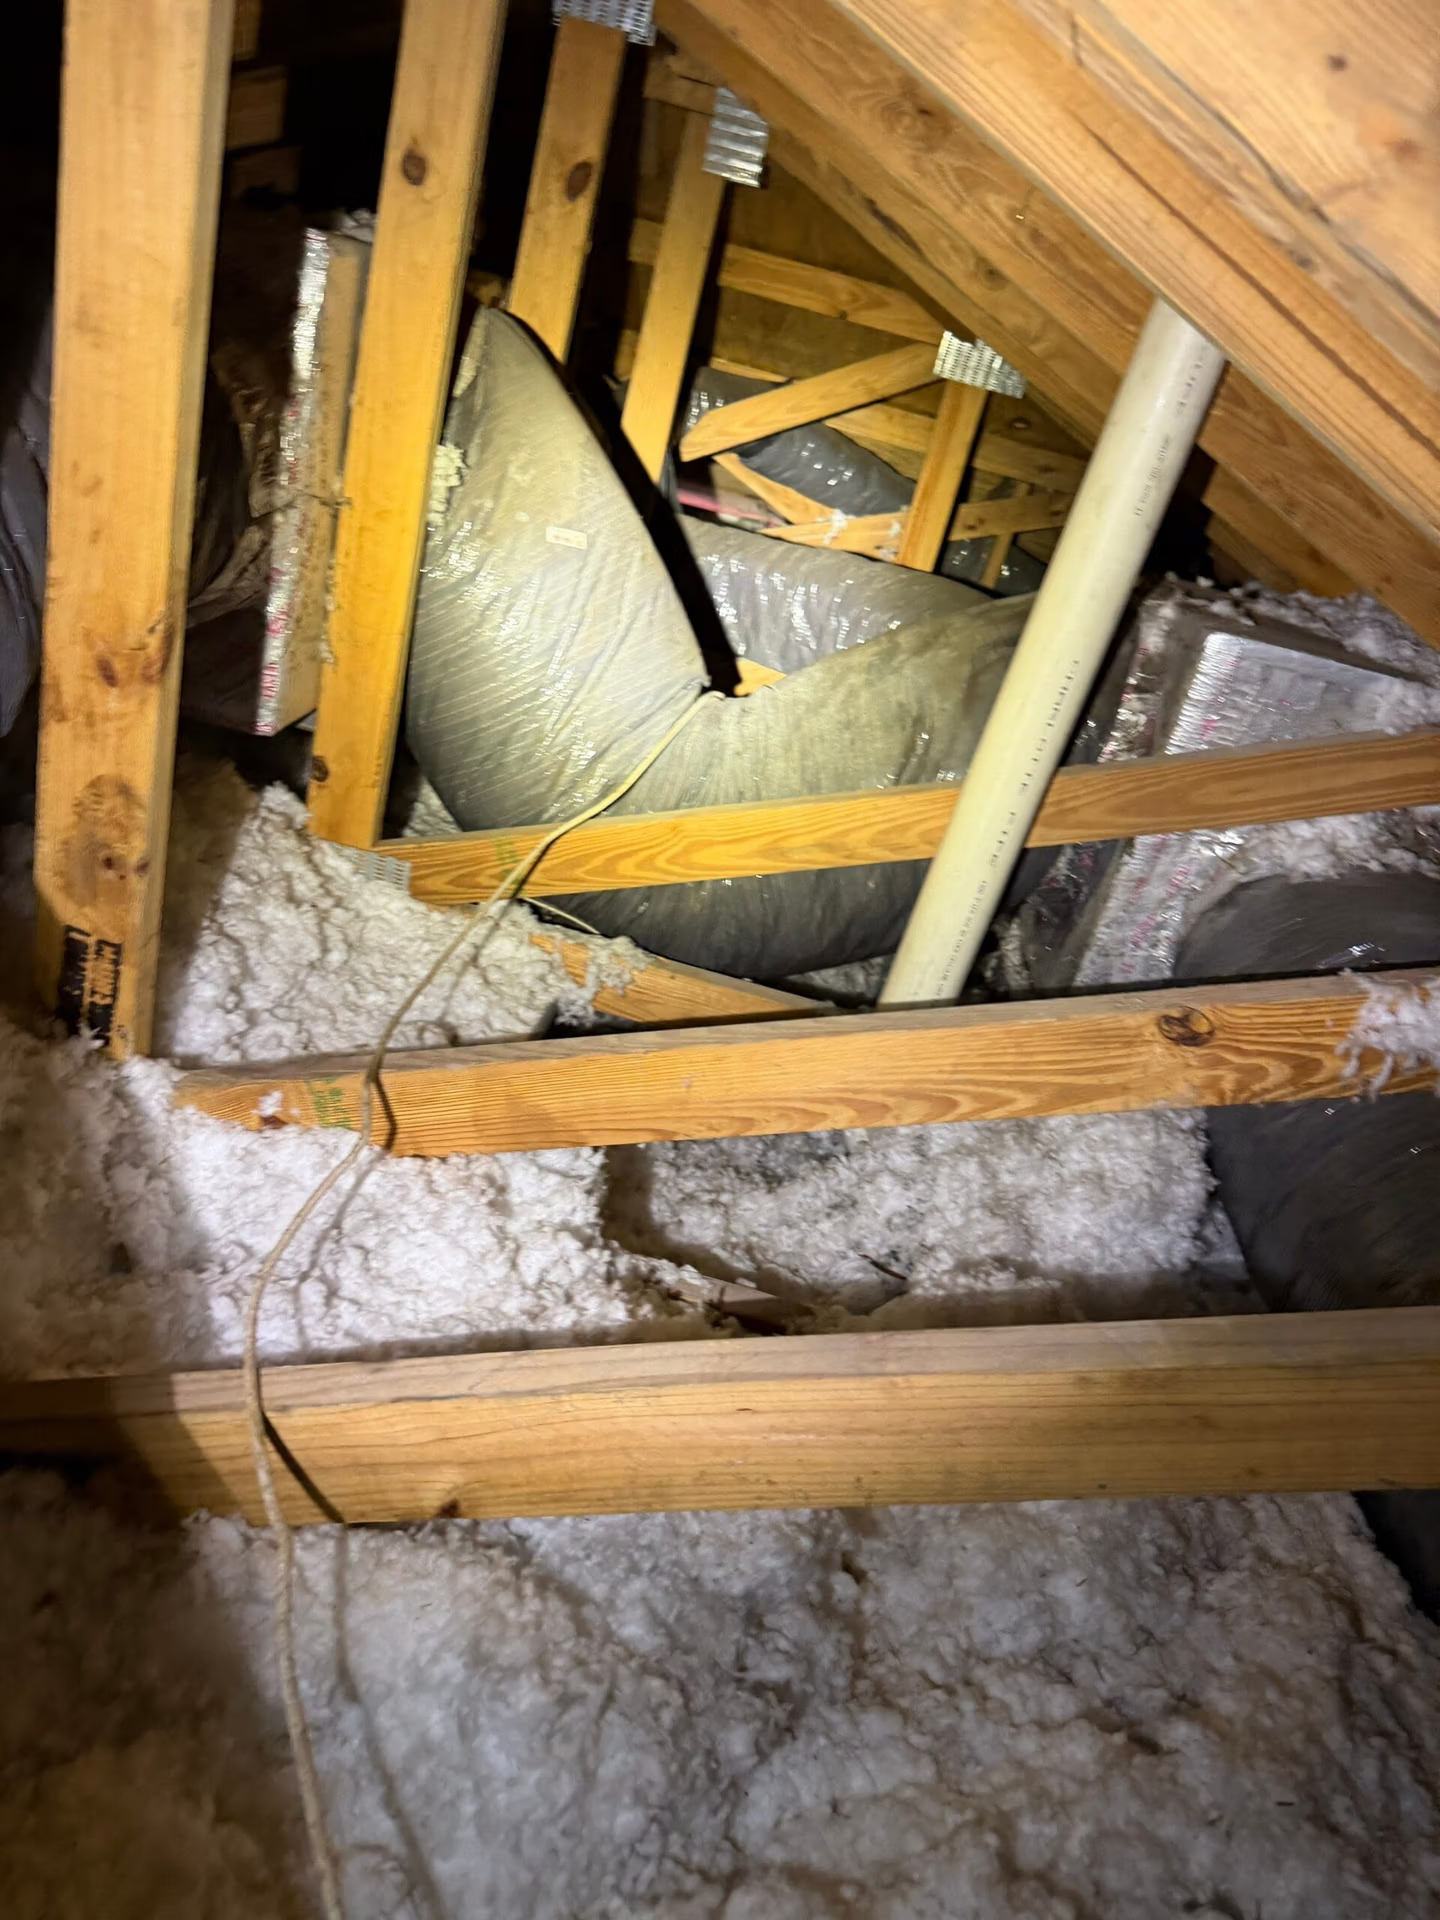
When homeowners schedule professional air duct cleaning, they often wonder what the service actually includes. Is it simply vacuuming the vents, or is there more involved? A proper duct cleaning is a detailed process designed to remove accumulated dust, debris, and other contaminants from the HVAC air distribution system. When performed correctly, the system is placed under negative pressure while specialized agitation tools loosen buildup throughout the ductwork.
Here is a step-by-step look at what you can expect during a professional duct cleaning.
Step 1: Initial Inspection
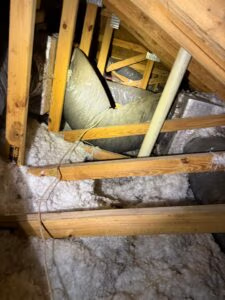
The process begins with an inspection of the HVAC system and accessible ductwork. The technician evaluates the condition of the:
- Supply and return vents
- Register boxes
- Flexible or rigid ductwork
- Supply and return plenums
- Air handler
- Evaporator coil
- Blower wheel and motor
- Drain pan and condensate line
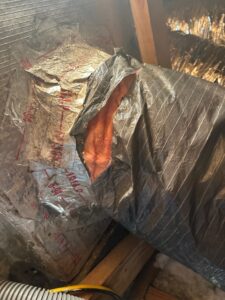
This inspection helps identify excessive dust, damaged ductwork, air leakage, moisture concerns, visible microbial growth, or sections that may require repair or replacement instead of cleaning.
When appropriate, cameras or borescopes may be used to inspect areas that are difficult to see from the vents.
Step 2: Protecting the Home
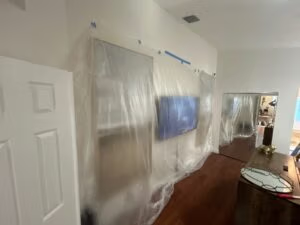
Before cleaning begins, technicians protect the work areas and nearby surfaces. Depending on the layout of the home, this may include:
- Floor protection
- Protective coverings around the air handler
- Corner guards and equipment-path protection
- Covering furniture near registers
- Sealing off sensitive areas
Professional containment and careful preparation help prevent debris from spreading into the occupied areas of the home.
Step 3: Preparing the HVAC System
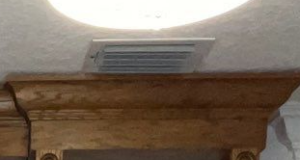
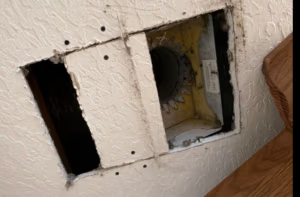
The HVAC system is turned off before cleaning begins. Supply and return registers are removed or opened to provide access to the duct system.
Each register is documented and inspected for dust, buildup, rust, condensation, or signs of air leakage around the boot. Registers and grilles may then be HEPA vacuumed, cleaned, and damp wiped.
Step 4: Creating Negative Pressure
One of the most important parts of professional duct cleaning is placing the duct system under negative pressure. A powerful HEPA-filtered vacuum or negative-air machine is connected to the system. Supply and return sections may be cleaned separately to maintain strong suction. Negative pressure creates controlled airflow toward the collection equipment. This helps capture loosened dust and debris instead of allowing it to escape into the home.
Simply vacuuming the visible portion of a vent does not accomplish the same result.
Step 5: Isolating Individual Duct Runs
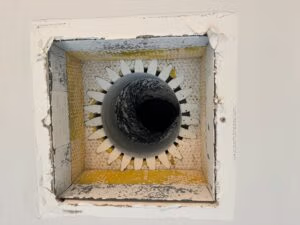
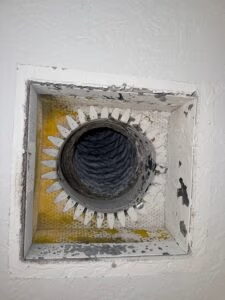
Registers may be temporarily sealed while the system is under negative pressure. Technicians then work through the duct system one section at a time.
This controlled process helps direct suction to the duct run currently being cleaned. It also prevents loosened debris from moving into other parts of the system.
Step 6: Agitating the Ductwork
Negative pressure alone may not remove material attached to the interior surfaces of the ductwork. Specialized tools are used to loosen the buildup.
Depending on the type and condition of the duct system, technicians may use:
- Compressed-air whips
- Air nozzles
- Rotary brushes
- Contact vacuuming
- Compressed air or nitrogen
- Flexible agitation tools
The tools are carefully moved through the individual duct runs while the vacuum system collects the loosened material.
The cleaning method should always be appropriate for the duct material. Older or deteriorated flexible ductwork may not be suitable for aggressive mechanical cleaning and could require replacement.
Step 7: Cleaning the Main Trunk Lines and Plenums
After the individual branches are cleaned, technicians address the larger components of the air distribution system, including:
- Supply trunk lines
- Return ductwork
- Supply plenum
- Return plenum
- Splitter boxes
- Accessible transitions and junctions
These areas can collect significant amounts of dust and debris because air from multiple duct runs passes through them. Access openings may be created when necessary to properly clean areas that cannot be reached through the registers. Any approved access points should be professionally sealed when the work is complete.
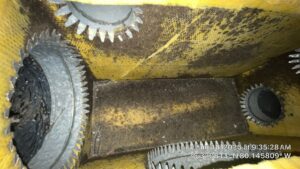
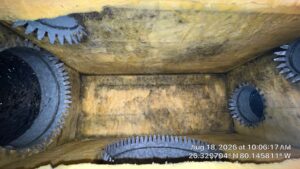
Step 8: Cleaning the Register Boxes and Grilles
Register boxes and grilles can accumulate dust, insulation fibers, and debris around their edges. Technicians HEPA vacuum and damp wipe the accessible register boxes and vent covers. Gaps around the boxes may also be identified for sealing to help reduce air leakage and condensation.
Cleaning only the grille without addressing the ductwork behind it is not considered a complete duct cleaning.
Step 9: Inspecting and Cleaning HVAC Components
The air handler is responsible for moving air through the duct system, so its condition directly affects the cleanliness of the system.
A complete service may include inspection or cleaning of the:
- Blower wheel and motor
- Evaporator coil
- Drain pan
- Filter rails
- Accessible cabinet surfaces
- Supply and return plenums
These services should be clearly identified in the proposal because some companies price air-handler or coil cleaning separately from duct cleaning.
If the air handler remains contaminated, dust can quickly circulate back into recently cleaned ductwork.
Step 10: Applying Optional Treatments
After physical debris has been removed, an antimicrobial treatment or protective HVAC coating may be recommended in certain situations.
Depending on the system’s condition, this may include:
- ULV fogging with an HVAC-compatible antimicrobial
- Surface treatment of accessible components
- Encapsulation of approved duct or plenum surfaces
- Sealing accessible air leaks with HVAC-rated mastic or UL-181 materials
These treatments should never be used as a substitute for physical cleaning. Dust and debris must be removed before a coating or antimicrobial product is applied.
Not every duct system requires fogging or encapsulation. Recommendations should be based on the system’s material, condition, and documented findings.
Step 11: Final Inspection and System Reassembly
Once the cleaning is complete, technicians perform a final inspection. Any access openings are sealed, registers are reinstalled, and the HVAC system is returned to its normal operating condition.
The technician should confirm that:
- Registers and grilles are securely installed
- Access points are properly sealed
- The system is operating correctly
- Airflow is present at the supply vents
- The work areas are clean
- No tools or materials remain inside the system
Before-and-after photographs may also be provided to document the work.
How Long Does Duct Cleaning Take?
The amount of time required depends on several factors, including:
- The size of the home
- The number of HVAC systems
- The number of supply and return vents
- The type and accessibility of the ductwork
- The amount of buildup
- Whether the air handler, coil, or blower requires cleaning
- Whether repairs, sealing, fogging, or encapsulation are included
A detailed duct cleaning typically takes several hours and may require a full day or longer for larger homes or multiple systems.
Be cautious of extremely quick services that only vacuum around the visible vent openings. Proper cleaning requires time, specialized equipment, controlled negative pressure, and access to the entire system.
When Should Ductwork Be Replaced Instead of Cleaned?
Not every duct system is a good candidate for cleaning. Replacement may be recommended when ductwork is:
- Crushed, torn, or disconnected
- Excessively deteriorated
- Water-damaged or saturated
- Internally deteriorated
- Heavily contaminated beyond practical restoration
- Improperly installed or severely restricted
- No longer capable of being safely cleaned
Choosing a Professional Duct-Cleaning Company
Before hiring a company, ask what its process includes. A professional service should be able to explain:
- How the system will be placed under negative pressure
- What agitation tools will be used
- Whether the supply and return sides are both included
- Whether plenums, register boxes, and grilles are cleaned
- Whether the air handler and coil are included
- What products may be applied
- How access openings will be sealed
- Whether before-and-after documentation is provided
Pricing should be based on the actual system rather than an unusually low promotional offer that covers only a few vents.
Final Thoughts
Professional duct cleaning is much more than vacuuming visible dust from vent covers. A complete process involves inspection, home protection, negative pressure, mechanical agitation, debris collection, component cleaning, final documentation, and proper system reassembly.
At Green Fox Air Quality, we evaluate each HVAC system individually and provide honest recommendations based on the condition of the ductwork. Our goal is to help South Florida homeowners improve indoor air quality while protecting the performance and integrity of their HVAC systems.
If you are concerned about dust, odors, debris, or possible contamination inside your ductwork, contact Greenfox Air Quality to schedule an inspection.
Air Quality Done The Greenfox Way.
